How to Avoid Detection – 007 First Light Guide
Avoiding detection is the cornerstone of successful stealth gameplay in 007 First Light. Whether you're infiltrating enemy facilities, completing silent assassinations, or pursuing perfect stealth ratings, understanding how detection works and mastering avoidance techniques is essential.
This comprehensive guide breaks down the detection system, provides step-by-step stealth strategies, reveals common mistakes that blow your cover, and teaches advanced techniques used by expert players. Master these skills and you'll ghost through missions without raising a single alarm.
Understanding Detection Mechanics
Before you can avoid detection, you need to understand how the system works. 007 First Light uses a sophisticated detection model with multiple factors:
The Detection Meter
When enemies spot you, a detection meter appears above their head, filling from white to yellow to red:
- White (0-33%): Enemy is suspicious but hasn't confirmed your presence. Break line of sight immediately and they'll return to normal patrol.
- Yellow (34-66%): Enemy is investigating. They'll move toward your last known position. Hide or eliminate them before the meter fills.
- Red (67-100%): Full detection. Enemy will call for backup and engage in combat. Mission stealth rating is compromised.
Detection Factors
1. Line of Sight
The primary detection factor. If enemies can see you directly, the detection meter fills. The rate depends on distance, lighting, and your stance. Crouching reduces visibility, while standing or running increases it dramatically.
2. Lighting and Shadows
Staying in shadows significantly reduces detection speed. Well-lit areas make you visible from much farther away. The game displays a light meter showing your visibility level—keep it in the dark zone for optimal stealth.
3. Noise Level
Running, breaking objects, and firing unsuppressed weapons create noise that alerts nearby enemies. Walking and crouching are silent. Certain surfaces (metal grates, broken glass) make noise even when walking.
4. Enemy Alertness
Enemies have three states: Unaware (green), Suspicious (yellow), and Alert (red). Alert enemies detect you faster and have wider vision cones. Triggering alarms puts all enemies in the area on high alert.
5. Security Cameras
Cameras have fixed vision cones and detection works the same as guards. However, cameras trigger instant alarms when detection completes. Always disable cameras with your hacking device before entering their view.
Step-by-Step Stealth Strategy
Step 1: Scout Before You Move
Never enter a new area blind. Use your Spy Drone or binoculars to identify:
- Enemy positions and patrol routes
- Security camera locations and coverage
- Light sources and shadow areas
- Alternative routes and hiding spots
- Objectives and extraction points
Spend 60-90 seconds on reconnaissance. This initial investment prevents costly mistakes and reveals the safest path forward. Mark all enemies with your drone for persistent tracking through walls.
Step 2: Disable Electronic Surveillance
Before infiltrating, neutralize all cameras in your path:
- Identify camera positions with your Spy Drone
- Approach from blind spots (behind or beside cameras)
- Use your Hacking Device from maximum range
- Verify the camera is disabled (red light turns off)
- Proceed only after all cameras in the area are neutralized
Disabled cameras remain offline for the entire mission. This one-time investment makes subsequent movement much safer. Learn more about gadget usage in our complete guide.
Step 3: Time Your Movement
Patience is crucial. Wait for optimal moments to move:
- Guard Patrol Gaps: Move when guards turn away or reach patrol endpoints
- Environmental Noise: Use machinery sounds, music, or conversations to mask movement
- Distraction Windows: Throw objects to create temporary openings
- Shadow Paths: Plan routes that keep you in darkness
- Cover-to-Cover: Never cross open areas—move between hiding spots
Rushing causes detection. Take your time, observe patterns, and move deliberately. One patient approach beats three rushed attempts.
Step 4: Maintain Proper Stance
Your stance dramatically affects detection speed:
- Crouch (Default): Use 90% of the time. Reduces visibility and noise significantly
- Stand: Only when necessary for climbing or interacting with objects
- Prone: Maximum stealth but very slow. Use for crossing guard sightlines
- Never Run: Running creates noise and makes you highly visible
Stay crouched by default. Only stand when the game requires it, then immediately crouch again. This simple habit prevents countless detections.
Step 5: Use Distractions Strategically
Distractions manipulate enemy positions:
- Thrown Objects: Coins, bottles, or debris attract guards to investigate
- Environmental Triggers: Shoot fusebox to create noise and darkness
- Holographic Decoys: Advanced gadget that creates fake targets
- Timed Distractions: Throw objects to create patrol gaps
Throw distractions away from your intended path, not toward it. Guards investigate the noise source, creating openings in their patrol routes.

Step 6: Handle Close Encounters
When enemies get too close, you have options:
- Hide Immediately: Duck into closets, lockers, or under desks
- Break Line of Sight: Turn corners and move to different areas
- Silent Takedown: Eliminate isolated guards with melee attacks
- Tranquilizer Dart: Non-lethal option for unavoidable encounters
- Wait It Out: If hidden, stay still until guards stop investigating
Never panic. Even if spotted, you have 2-3 seconds before full detection. Use this window to hide or eliminate the threat before they alert others.
Step 7: Manage Bodies and Evidence
Eliminated enemies leave evidence that triggers investigations:
- Hide Bodies: Drag to containers, closets, or dark corners
- Clean Blood Trails: Avoid leaving visible evidence
- Remove Witnesses: Ensure no one sees the elimination
- Time Your Kills: Eliminate guards when patrols won't discover them
- Use Non-Lethal: Tranquilized enemies don't leave blood
A discovered body triggers area-wide alerts. Always hide bodies immediately after elimination, even if it means delaying your advance.
Common Detection Mistakes
Mistake 1: Ignoring the Light Meter
Many players focus only on enemy positions and forget about lighting. Standing in bright areas makes you visible from extreme distances, even if no enemies are nearby.
Solution: Always check your light meter (bottom left). Stay in shadows (dark meter) whenever possible. Shoot out lights to create safe paths.
Mistake 2: Running Between Cover
Running creates noise and makes you highly visible. Even short sprints can trigger detection from guards you didn't see.
Solution: Walk or crouch-walk everywhere. The time saved by running isn't worth the detection risk. Speed comes from smart routing, not fast movement.
Mistake 3: Forgetting About Cameras
Players often focus on guards and walk directly into camera view. Cameras trigger instant alarms with no warning.
Solution: Make camera neutralization your first priority in every area. Use your Spy Drone to locate all cameras before entering. One hacked camera is better than ten avoided guards.
Mistake 4: Not Hiding Bodies
Leaving bodies in patrol routes guarantees discovery. Other guards will find them and trigger area-wide alerts.
Solution: Immediately drag bodies to hiding spots. If no containers are nearby, eliminate guards in areas where patrols won't pass. Plan your kills around body disposal.
Mistake 5: Poor Timing
Moving when guards are looking your direction, even from far away, causes detection. Players underestimate enemy vision range.
Solution: Wait for guards to turn completely away before moving. Watch patrol patterns for 2-3 cycles to identify safe windows. Patience prevents detection.
Mistake 6: Standing Up Unnecessarily
Players stand to interact with objects or look around, forgetting they're more visible. Standing doubles your detection range.
Solution: Stay crouched at all times unless the game forces you to stand. Immediately crouch again after required standing interactions.
Advanced Stealth Techniques
Sound Masking
Expert players use environmental sounds to mask their actions:
- Machinery Noise: Generators, ventilation systems, and equipment create sound zones where your footsteps are masked
- Music and Conversations: NPCs talking or music playing provides audio cover
- Timed Eliminations: Shoot or eliminate guards when loud sounds occur
- Created Distractions: Trigger alarms in distant areas to mask nearby actions
Sound masking lets you move faster and take riskier actions without detection. Learn to identify and exploit these audio opportunities.
Vision Cone Manipulation
Advanced players manipulate enemy vision cones rather than avoiding them:
- Distraction Throws: Make guards turn away from your path
- Patrol Baiting: Lure guards to specific positions for easier bypass
- Vision Cone Edges: Move along the extreme edges of vision cones where detection is slowest
- Blind Spot Exploitation: Every guard has blind spots directly behind and beside them
Instead of waiting for guards to move, make them move where you want. This active approach speeds up stealth significantly.
Vertical Movement
Most players ignore vertical space, but it's often the safest route:
- Rooftop Paths: Guards rarely look up. Use grappling hooks to access elevated routes
- Ventilation Shafts: Bypass entire sections through vent systems
- Ledge Hanging: Hang from ledges to avoid ground patrols
- Multi-Level Approach: Drop down on objectives from above
Vertical movement is underutilized but incredibly effective. Always look for grapple points and alternate levels before committing to ground routes.
Detection Recovery
When detection starts, expert players know how to reset it:
- Immediate Break: Turn corners or duck behind cover the instant detection begins
- Distance Reset: Move far enough away that enemies lose track
- Elevation Change: Go up or down levels to break tracking
- Hide and Wait: Use hiding spots until investigation ends
- Silent Elimination: Take out the detecting guard before they alert others
Detection isn't failure—it's a warning. You have 2-3 seconds to respond before full alert. Practice recovery techniques to save runs that would otherwise fail.
Optimal Loadout for Stealth
Your loadout significantly impacts detection avoidance:
- Primary Weapon: Silenced Pistol or Tranquilizer Gun (silent eliminations)
- Secondary: Throwing Knives (completely silent, reusable)
- Gadget 1: Spy Drone (reconnaissance without exposure)
- Gadget 2: Hacking Device (camera neutralization)
- Throwable: Distraction Coins or Smoke Grenades (emergency escapes)
This loadout provides tools for every stealth scenario. The Spy Drone prevents detection through reconnaissance, while silent weapons handle unavoidable encounters. Check our complete stealth guide for more strategies.

Mission-Specific Stealth Tips
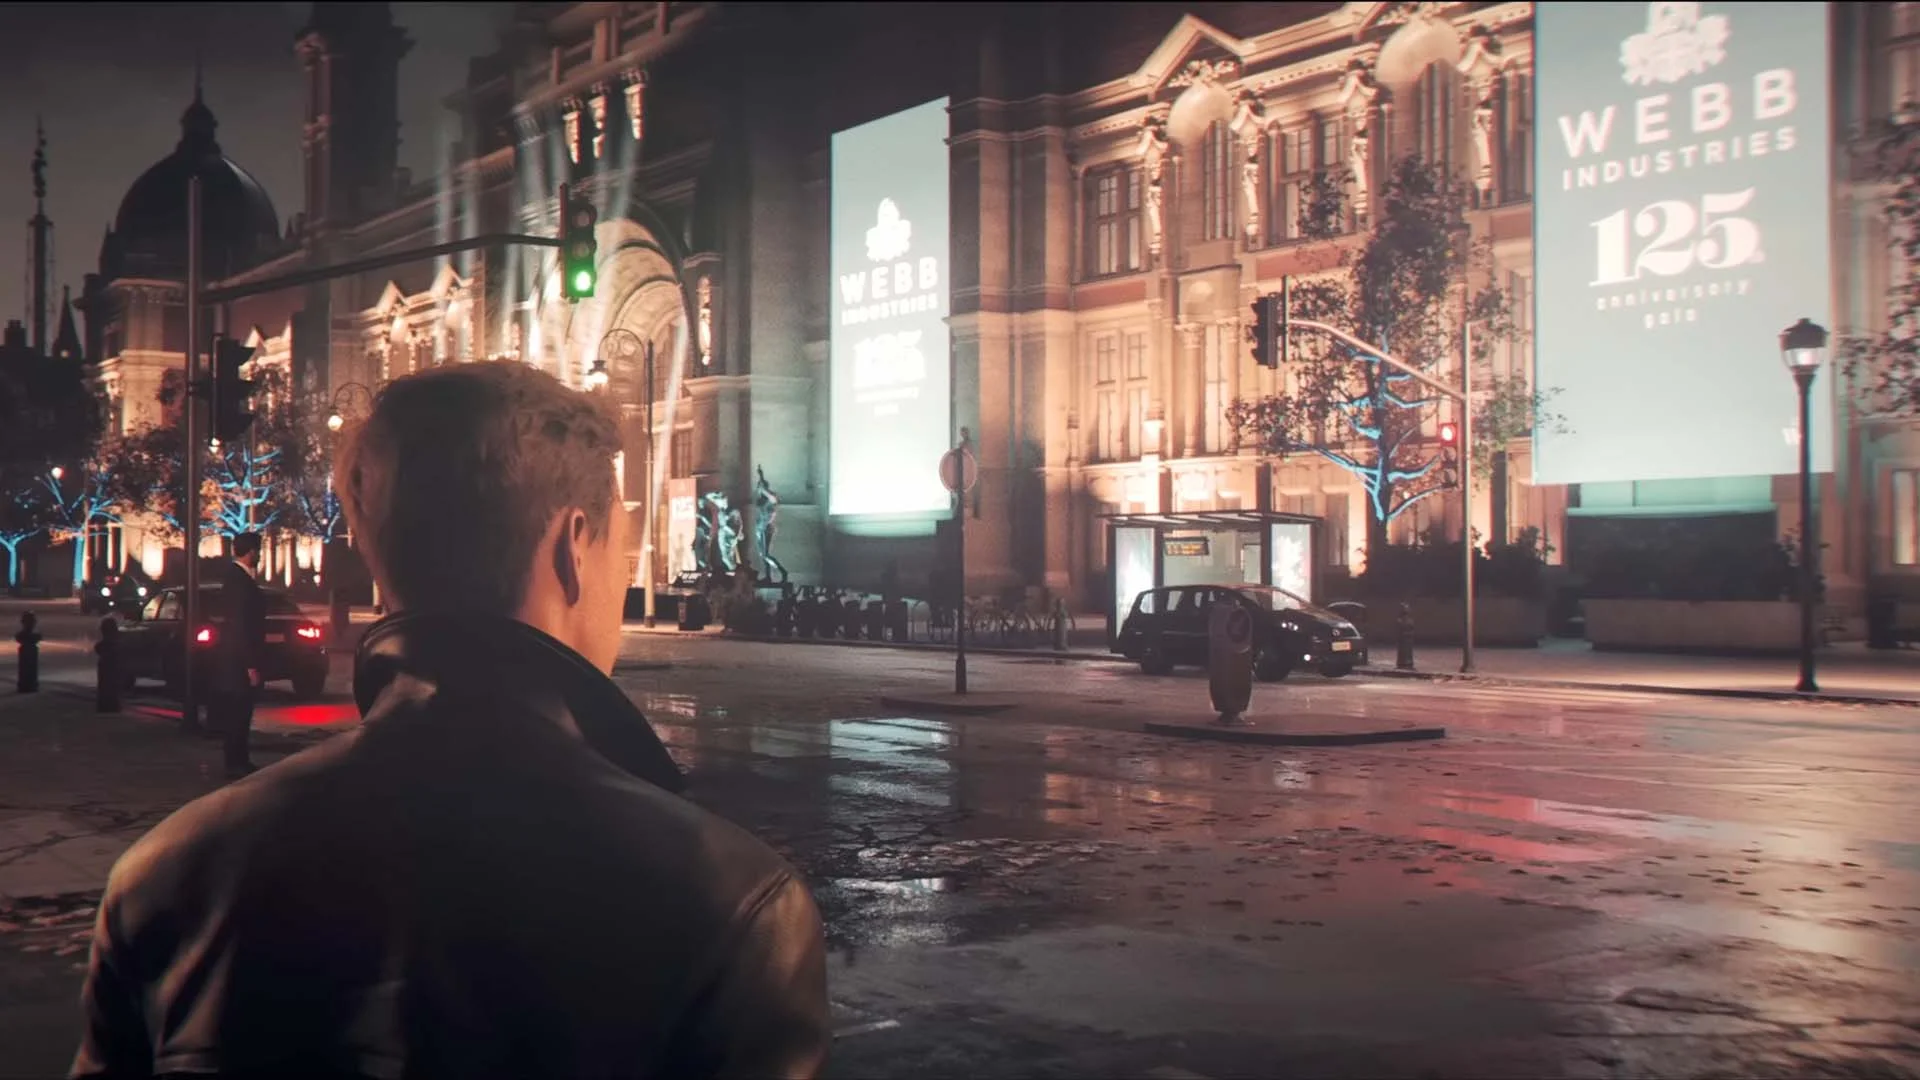
Mission 1: London Calling
Key Challenge: Mixed indoor/outdoor with heavy camera coverage
- Prioritize camera hacking in the embassy section
- Use rooftop paths to bypass ground patrols
- The garden area has excellent shadow coverage
- Wait for guard conversations to create movement windows
Mission 2: Iceland Infiltration
Key Challenge: Open outdoor areas with long sightlines
- Use snowstorms for reduced visibility windows
- Stick to rock formations and building exteriors
- Sniper positions require careful timing to bypass
- Interior sections offer easier stealth opportunities
Mission 4: Casino Royale
Key Challenge: Crowded areas with civilian witnesses
- Blend with crowds in public areas
- Restricted sections have fewer but more alert guards
- Use service corridors and staff areas for bypass routes
- Eliminate targets in private rooms to avoid witnesses
Mission 5: Submarine Base
Key Challenge: Tight corridors with limited hiding spots
- Ventilation shafts provide excellent alternate routes
- Water sections allow underwater movement
- Machinery noise masks footsteps in engine rooms
- Limited cameras but dense guard patrols
Frequently Asked Questions
How do I know if I'm in a shadow or light?
Check the light meter in the bottom left corner of your screen. When it's dark/empty, you're in shadows and harder to detect. When it's bright/full, you're in light and highly visible. The meter updates in real-time as you move, so watch it constantly. You can also observe your character—they appear darker in shadows and brighter in light.
What should I do if I'm detected but not fully spotted?
If the detection meter is filling (white or yellow), immediately break line of sight by turning corners, hiding behind cover, or ducking into hiding spots. The meter will stop filling and slowly decrease once you're out of view. If you can't break line of sight, eliminate the detecting guard with a silent weapon before the meter reaches red. You have approximately 2-3 seconds to respond.
Do eliminated guards alert others if I hide the body?
No, if you hide the body before other guards see it, there's no alert. However, if guards witness the elimination or discover the body before you hide it, they'll trigger an investigation or full alert. Always eliminate guards when no one is watching, and immediately hide bodies in containers, closets, or dark corners. Tranquilized enemies can be left in place if they're out of patrol routes.
Can I recover from a full detection (red meter)?
Once the meter reaches red, that guard is fully alerted and will call for backup. However, you can still prevent area-wide alerts by eliminating the guard before they reach a radio or alarm panel. If they successfully call for help, all nearby enemies enter alert status and begin searching. At this point, your best option is to hide until the search ends (usually 60-90 seconds) or eliminate all alerted guards.
Are there any perks or upgrades that help avoid detection?
Yes, several upgrades improve stealth: Extended Spy Drone battery (more reconnaissance time), Improved Hacking Device range (safer camera neutralization), Faster Crouch Speed (quicker movement while staying stealthy), and Reduced Detection Speed (enemies take longer to spot you). Prioritize these upgrades at Q Branch if you prefer stealth gameplay. The Stealth Suit (unlocked after Mission 3) also reduces detection speed by 25%.
Final Tips for Perfect Stealth
- →Patience Over Speed: Slow, methodical approaches succeed more often than rushed attempts
- →Save Often: Use quicksave before risky sections to avoid replaying entire missions
- →Learn Patterns: Guard patrols are predictable. Observe 2-3 cycles before moving
- →Use Your Tools: Spy Drone and Hacking Device prevent most detections
- →Stay Crouched: Make crouching your default stance
- →Shadows Are Safety: Always prioritize dark areas over lit ones
- →Practice Makes Perfect: Replay missions to master stealth routes
Mastering detection avoidance transforms 007 First Light from a challenging stealth game into a playground where you ghost through missions with confidence. Apply these techniques consistently, learn from mistakes, and soon you'll be completing perfect stealth runs on the hardest difficulties.